On December 15, 2022, the Atom editor will be out of service, and coding engineers, including myself, will have to find an alternative editor software to Atom.
The following editors are recommended as alternatives to Atom.
- Visual Studio Code
- Brackets
- Sublime Text
There are several other editors available, but they lack extensibility or charge a fee, so I would recommend the above software.
Of these, I chose Visual Studio Code (VSCode), which is provided by Microsoft.
Many engineers may be switching from Atom to VSCode.
My first stumbling block with VSCode was setting the scss files to be compiled in the css folder.
My engineering colleagues were similarly unable to fully migrate from Atom to VSCode because they did not understand that point.
We were finally able to solve that and fully migrate to VSCode, and this paper will tell you about it, with screenshots and videos!
We hope you’ll take advantage of it!
The extension uses “Live Sass Compiler”.
In Atom, it is called a “package”; in VSCode, it is called an “extension”.
The “Live Sass Compiler” extension is used to compile scss.
You probably know how to install extensions, so I’ll skip that part.
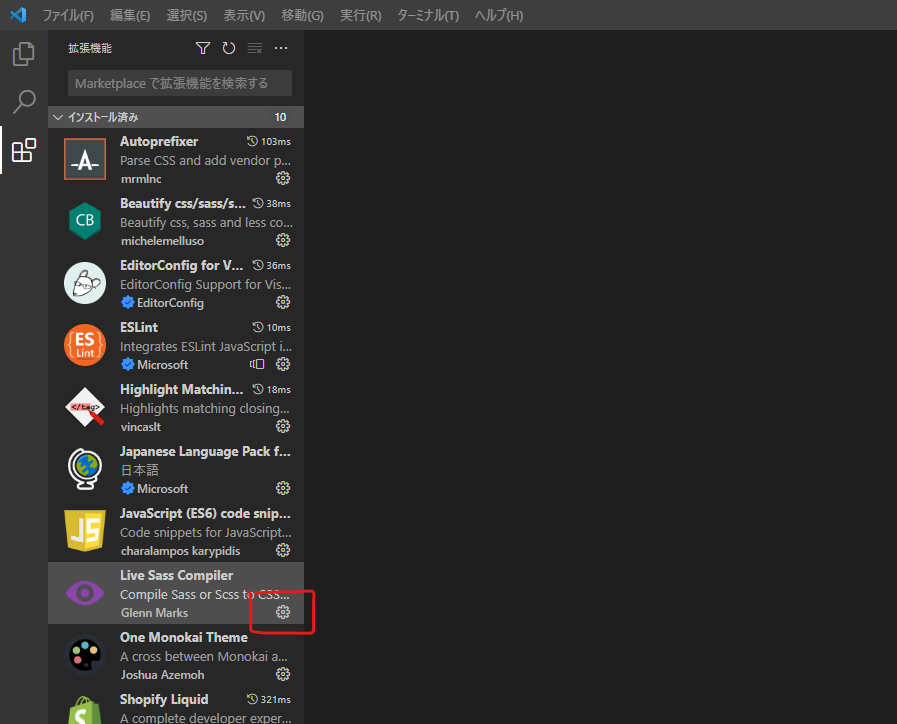
Press the Settings button in Live Sass Compiler and press “Extension Settings”.
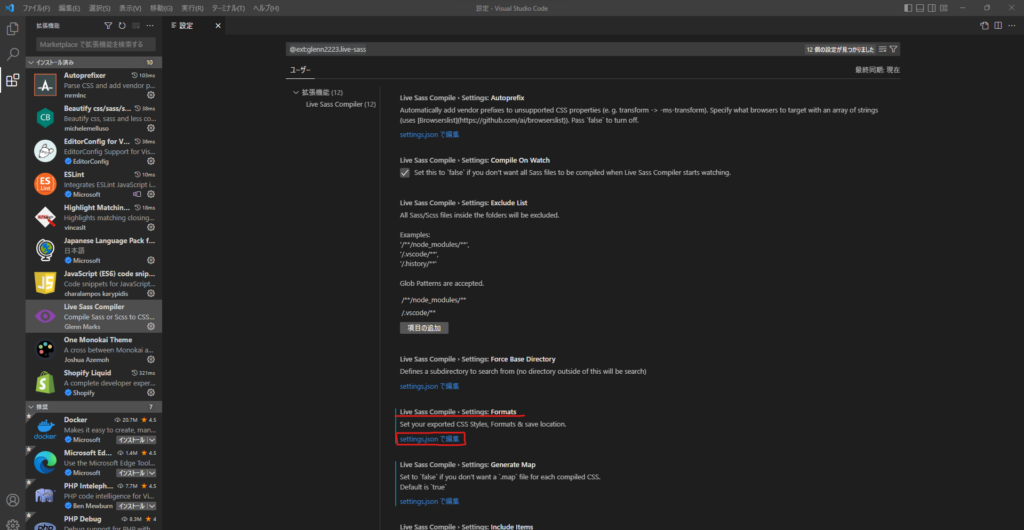
Next, edit the item “Live Sass Compile > Settings: Formats”.
There are various other setting items that can be set to your preference.
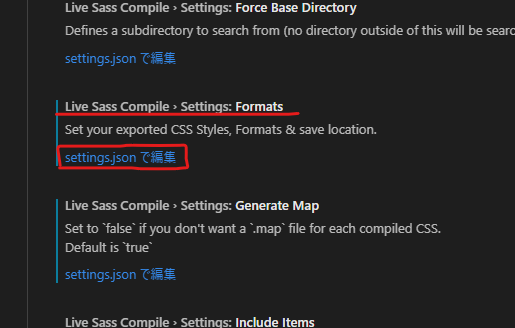
Under “Live Sass Compile > Settings: Formats”, click “Edit in settings.json”.
It is too small to see.
Here it is.
Click to open settings.json, which automatically outputs the configuration code.
The default value is this.
	"liveSassCompile.settings.formats": [
		{
			"format": "expanded",
			"extensionName": ".css",
			"savePath": null,
			"savePathReplacementPairs": null
		}
	],
Rewrite this as follows.
	"liveSassCompile.settings.formats": [
		{
			"format": "expanded",
			"extensionName": ".css",
			"savePath": "~/../css",
			"savePathReplacementPairs": null
		},
	],
That’s it for settings.json.
Many of you who have arrived at this paper may have seen these settings well in other articles.
However, this setting alone would not have compiled the scss file and output it in the css folder.
I was the same way.
The articles you have seen so far were probably written by people who have been using VSCode for a long time and forgot to tell you about the concept of registering in the workspace, which I will tell you next.
→ [IMPORTANT] Register a working folder in the workspace.
Next, register the folder to be worked on in the VSCode workspace.
Without this process, compiling scss will output css files at the same hierarchy as the scss files.
The video is a better way to understand how to register for the workspace.
I will explain it in writing as well.
This is the process of registering for a workspace.
- Drag the folder you want to work with from Explorer to VSCode.
- Do you trust this folder?” will appear.
- Click “Trust.”
The working folder is now registered in the workspace.
That’s all for the setup.
However, scss is compiled to the css folder only in the working folder registered in the workspace.
Please note that compiling scss files in folders not under the control of the workspace will not output them to the css folder.
Now compile the scss file and see for yourself!
I’d be happy to have your reactions if you’d like!
↓ ↓ ↓ ↓ ↓ ↓

![[商品価格に関しましては、リンクが作成された時点と現時点で情報が変更されている場合がございます。]](https://hbb.afl.rakuten.co.jp/hgb/11ec354d.091f71af.11ec354e.7e262172/?me_id=1213310&item_id=19912614&pc=https%3A%2F%2Fthumbnail.image.rakuten.co.jp%2F%400_mall%2Fbook%2Fcabinet%2F1854%2F9784297111854.jpg%3F_ex%3D240x240&s=240x240&t=picttext "[商品価格に関しましては、リンクが作成された時点と現時点で情報が変更されている場合がございます。]")